
Before we begin, we need to know what is Power Apps Test Studio. Based on the documentation definition “Build end-to-end UI tests for your canvas app using Test Studio. Maintain your app quality by continually validating that your app works as expected when new changes or updates are deployed.“. In my opinion, it talked about the ability to create integration test(s) using the low-code programming language (Power Fx). This opens up the possibility of boosting the quality of the App via a comprehensive integration test (we even can test any Data Source based on the connector available). Without further ado, let’s go deep! 😎
For example, I have the below App which I generated using “Start From Data” which gets data from my SQL Online instance. Then, you can start creating the Test(s) via “Advance Tools” icon in the left pane > Click the “Open tests”:

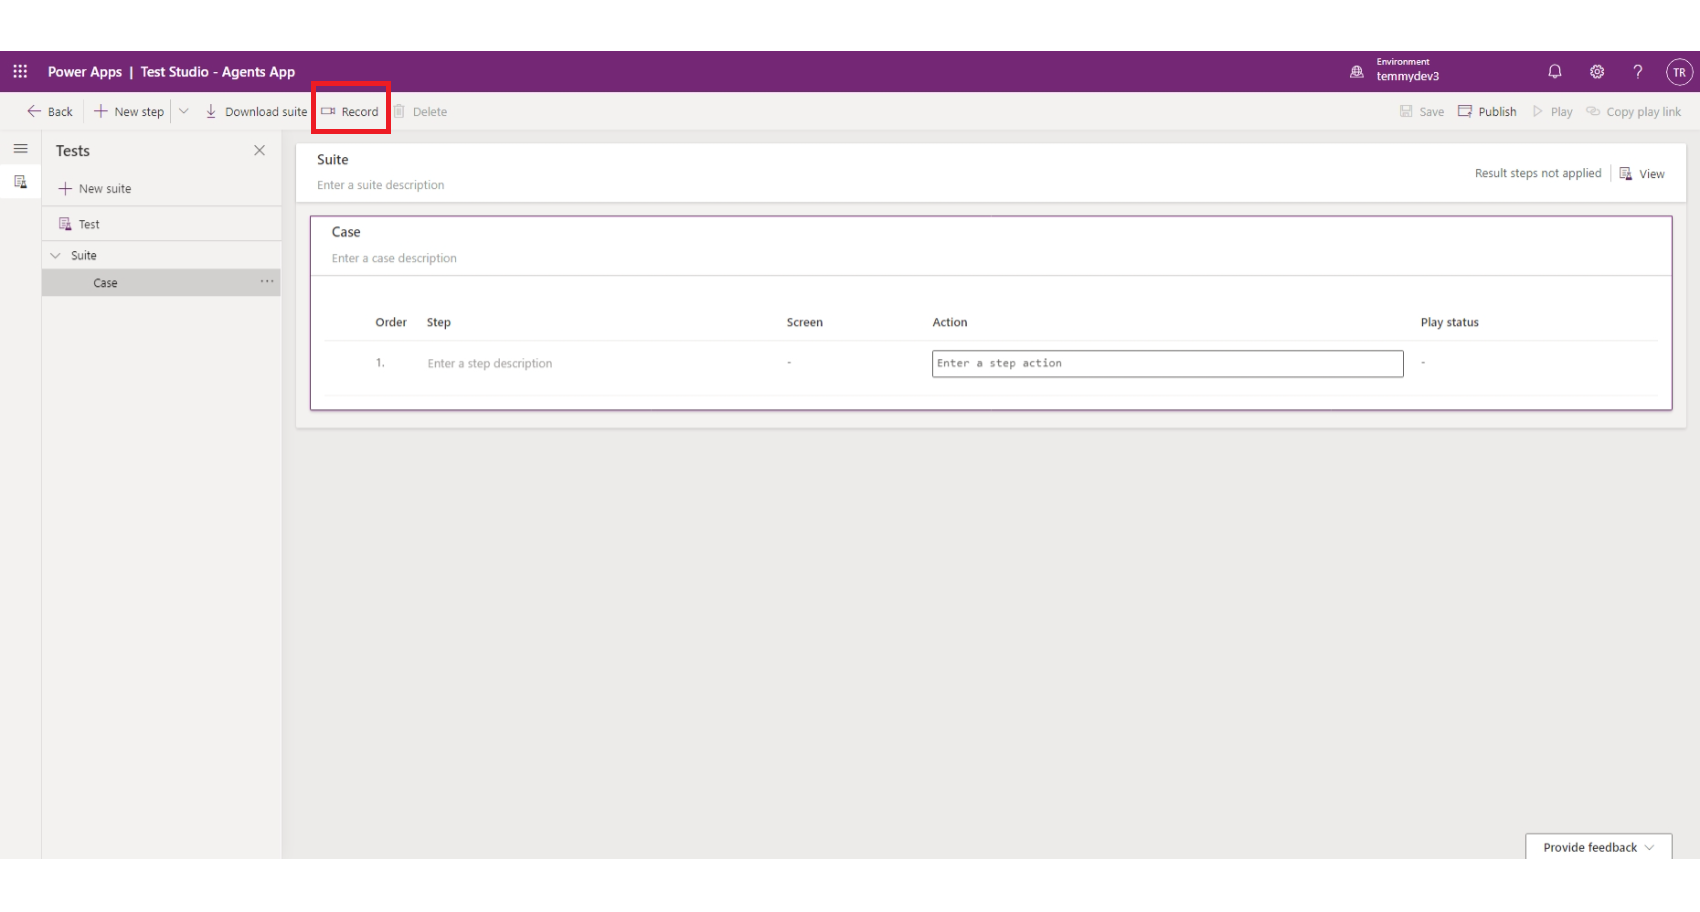
It will open another tab in your browser where you can start to create a test suite or test case. In the test case itself, you can click the “Record” button so it can help you to record your operation within the Canvas App:
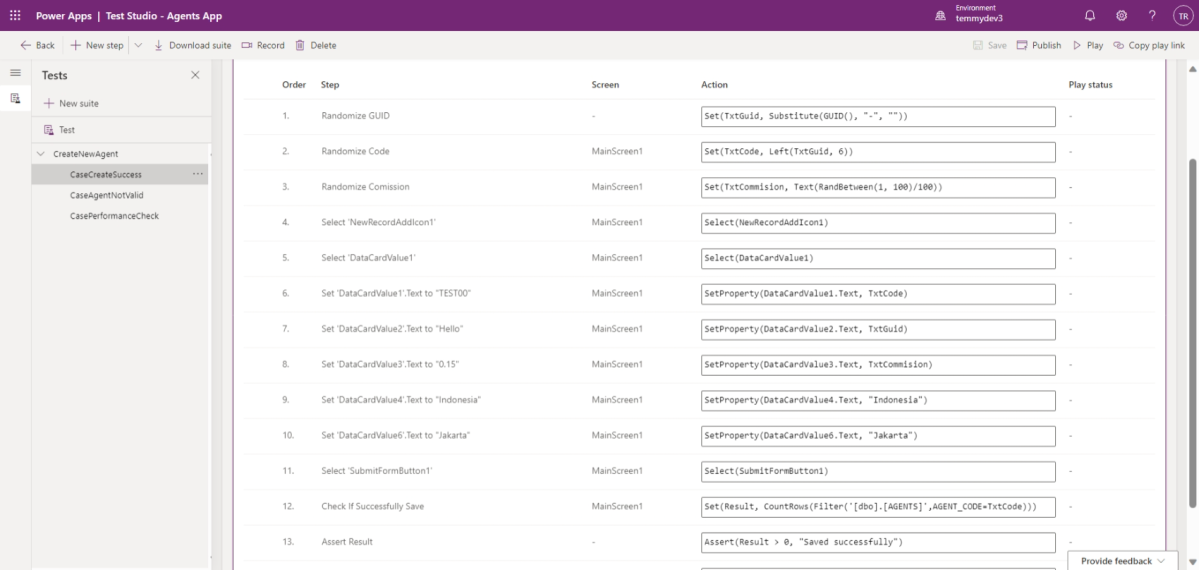
Once you get the steps, you can modify the test steps. For example, I created the below test steps (please don’t mind the test description 🤣):
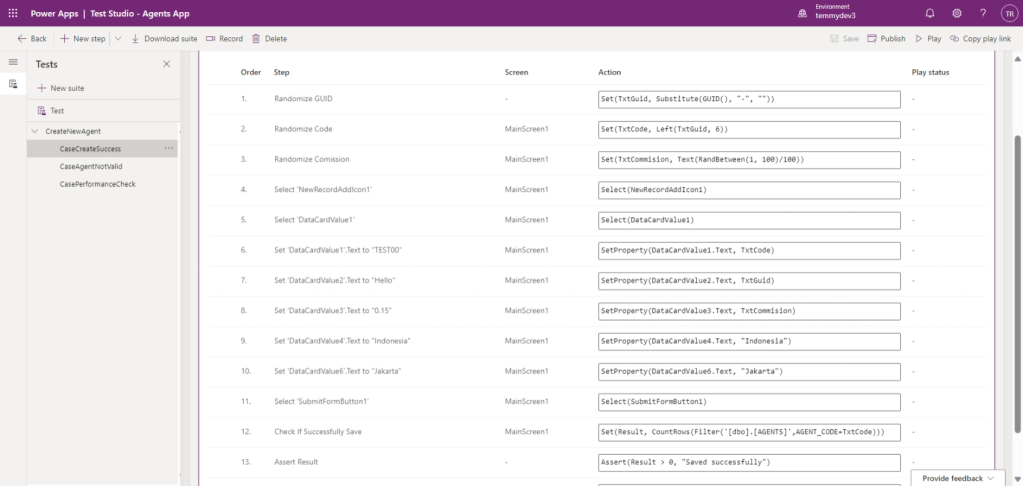
In the above image, I created 14 test steps and I will describe the important steps only:
- In step #1, I generate a random GUID and replace the “-” with an empty string. For example, the GUID I generated is “19b5ff6b-47b5-43df-a4d1-a049adb5ab15” > it will become “19b5ff6b47b543dfa4d1a049adb5ab15”
- Step #2, to set the Agent Code, I will get the 6 digits from the left of the above code.
- All the steps from #3 to #11 mostly is about setting necessary values to the controls and clicking the Save button.
- Step #12 is to check if the data is created in the Database. So, I use the Filter function based on the AgentCode we generated before and count the rows using the CountRows function.
- Last, step #13 is to check if the total rows are bigger than 0 which means the DB has that data.
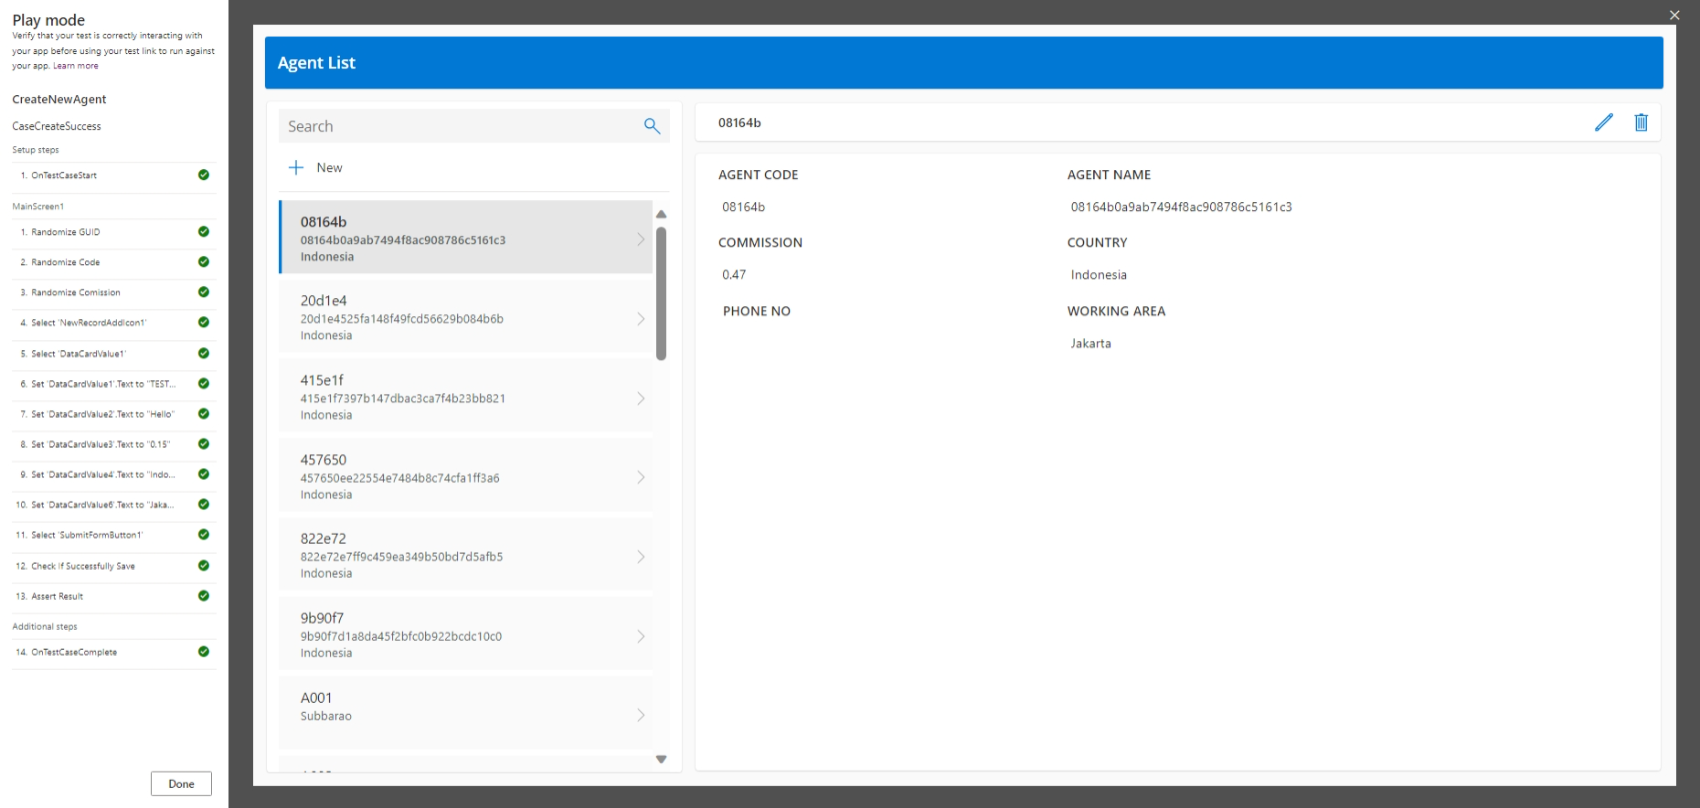
To run the test, you just need to click the “Play” button on the top right and it will ask you to “Save” and “Publish”. Once the publishing is done, it will run the test:
With how easy this method is, we can evolve the App. For example, I added the below logic before the Saving process:
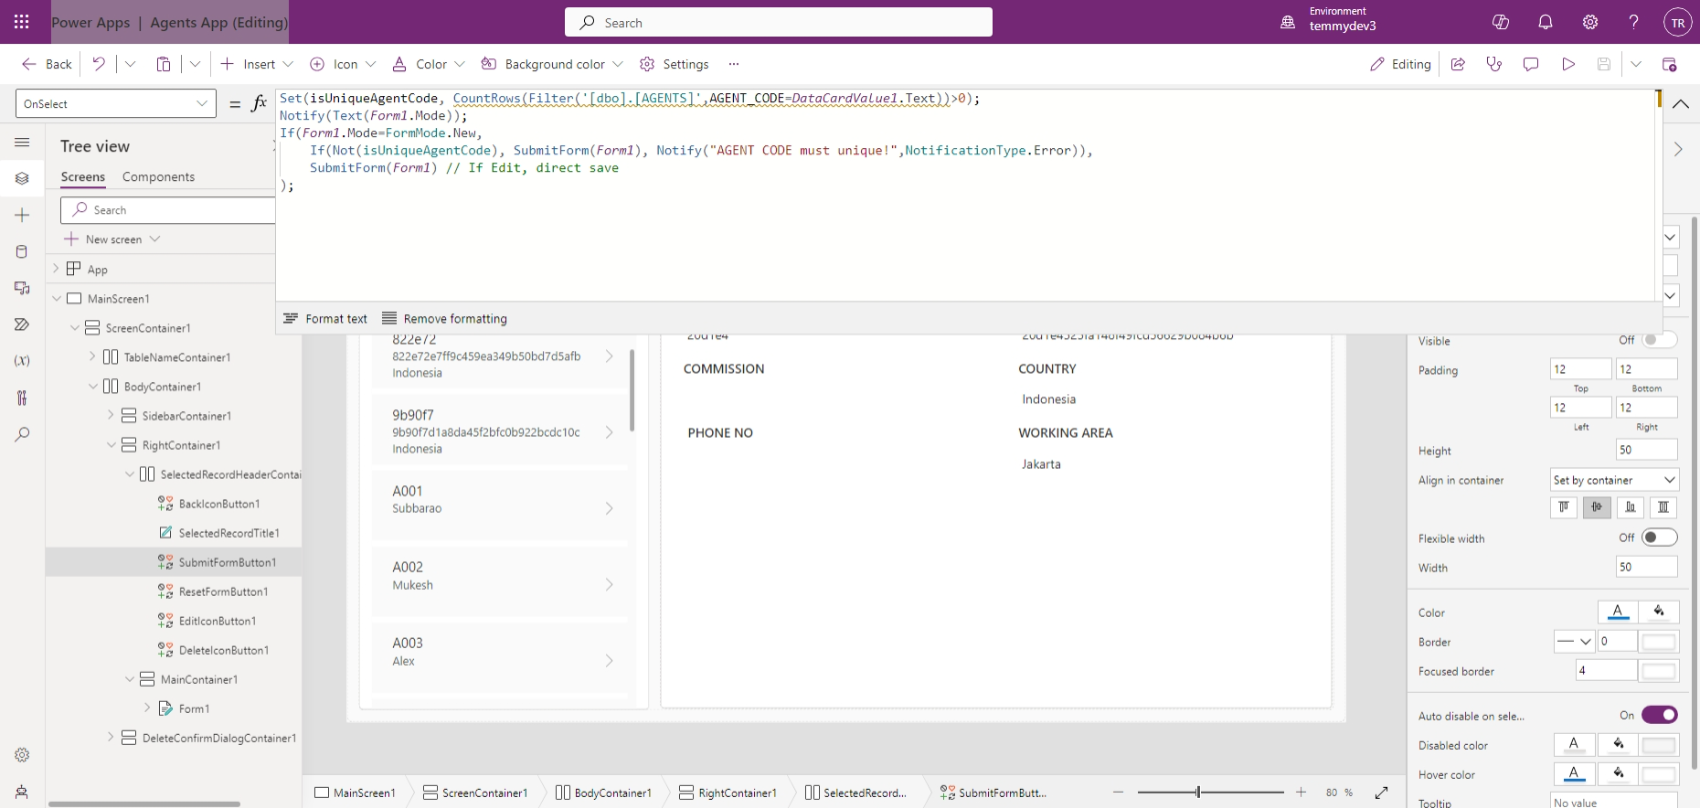
Then, we can add an additional test case to check this as well:

In the above picture, I get the first data using the First method and get the AGENT_CODE. Then, I set the AgentCode to the control and hit the Save button. To verify, we just need to check if the TotalRows is just 1 which means the App validation working well.
Last, we also can monitor the performance of the App. I copied the test case from “CaseCreateSuccess” and added several steps like the below:

As you can see from the above, you can get the StartDate and EndDate after I click the Save button. Then assert the time based on your requirements.
What do you think about Power Apps Test Studio? Happy CRM-ing!
